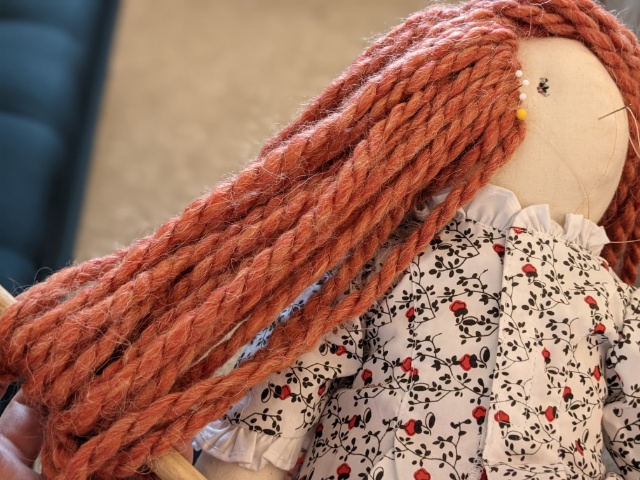
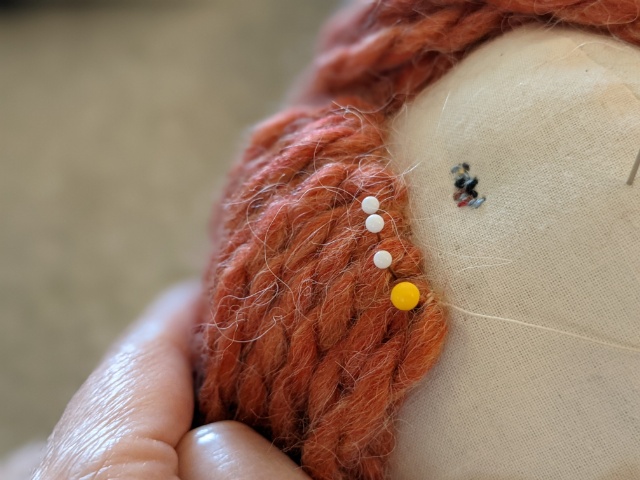
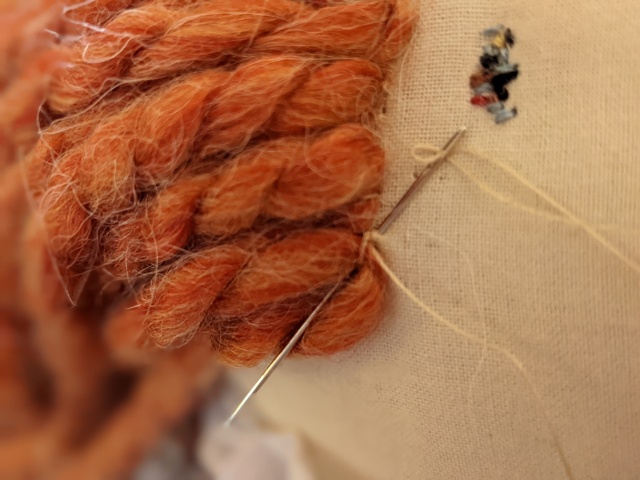
I have made some progress on the doll I started in February.This is the back of the head. I line up pins in a row where I want the part to be and wrap yarn around each pin, then and around a stick. The stitches you see on the right are the anchor stitches for all the facial embroidery. When I do the other half of the hair on the back of the head, they won’t show at all. Also, ignore the needle in this picture. I’m just using the head as a pin cushion.I use upholstery thread to sew each loop of hair down, followed by a tack stitch to keep it in place. (By tack stitch, I mean a small stitch right beside the stitch that I have already made through the loop of yarn. This keeps the thread from coming undone.)Here is a closeup of the stitch I make through the loop of yarn, just without the pin in the way. I am actually repeating what I have already done for the picture. I don’t normally do two stitches through the loop of yarn.
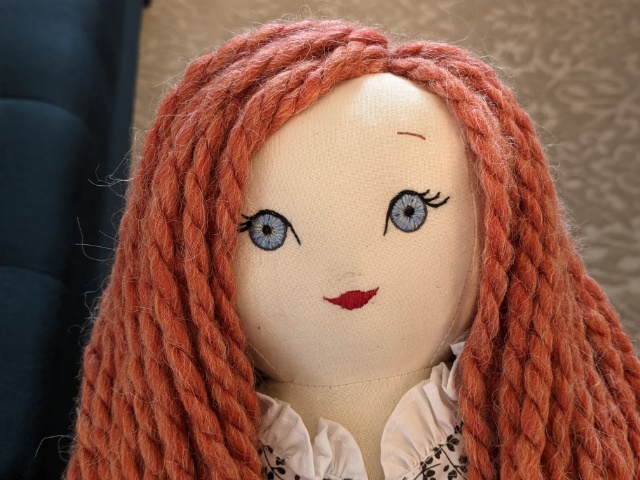
A friend passed away before I could finish this doll for her. So, I really don’t who needs it, nor do I have a great plan for the hair. It will probably be two ponytails or braids. I placed the hairline back from her face to allow for bangs, but I could always add more long hair in front of I decide against them. My observations about yarn are that woolen yarns seem prettier to me, and the thicker the yarn, the less work to fill the head with hair. I have used all kinds of yarn, thin and thick, acrylic, pure wool, and woolen blends, and I actually have a very pale blue yarn waiting for my next doll.
The thing that takes the most time, at least for me, is the decision making. We’ll see what develops. Somehow, even though this doll represents a missed opportunity and the loss of a friend, she smiles at me, and I know it’s okay that I didn’t finish in time.
To see earlier progress on the doll, here are links to the posts.